Wednesday, March 2, 2011

Faux Chenille Baby Blanket--Guest Blog on Reverie

I was so excited to write this guest blog for my dear friend and former roommate, Sarah! What's even more exciting is that the arrival of her daughter, Iris Ann Noel, make this post even more appropriate and special! Welcome to the world, Iris!

For those of you who are loyal followers of Reverie, you already have an idea what a phenomenal person the author is. As one of her college roommates, I can wholeheartedly tell you that the person who comes through in this blog is the woman she is in real life. For that reason, it makes the opportunity to write this guest blog for her even more of an honor.

In anticipation of Meep’s arrival, it seemed appropriate to show you how to make a super-easy, ultra-plush, ridiculously-cute faux chenille baby blanket. If you having a sewing machine and can sew a semi-straight line, you can do this project! (Photos for this project are actually from two different blankets, but together they make a full tutorial.)

Faux Chenille Baby Blanket

Materials needed:
·         4 to 5 different fabrics (1 for backing, 3 or 4 for chenille fabrics)—You’ll need 1 ¼ yards of each fabric
·         1 ¼ yards printed cotton fabric—This will be the backing fabric. You can use any sort of cotton, flannel, corduroy, or other soft fabric. Cotton-weight or heavier works best. Avoid fabrics with stretch.
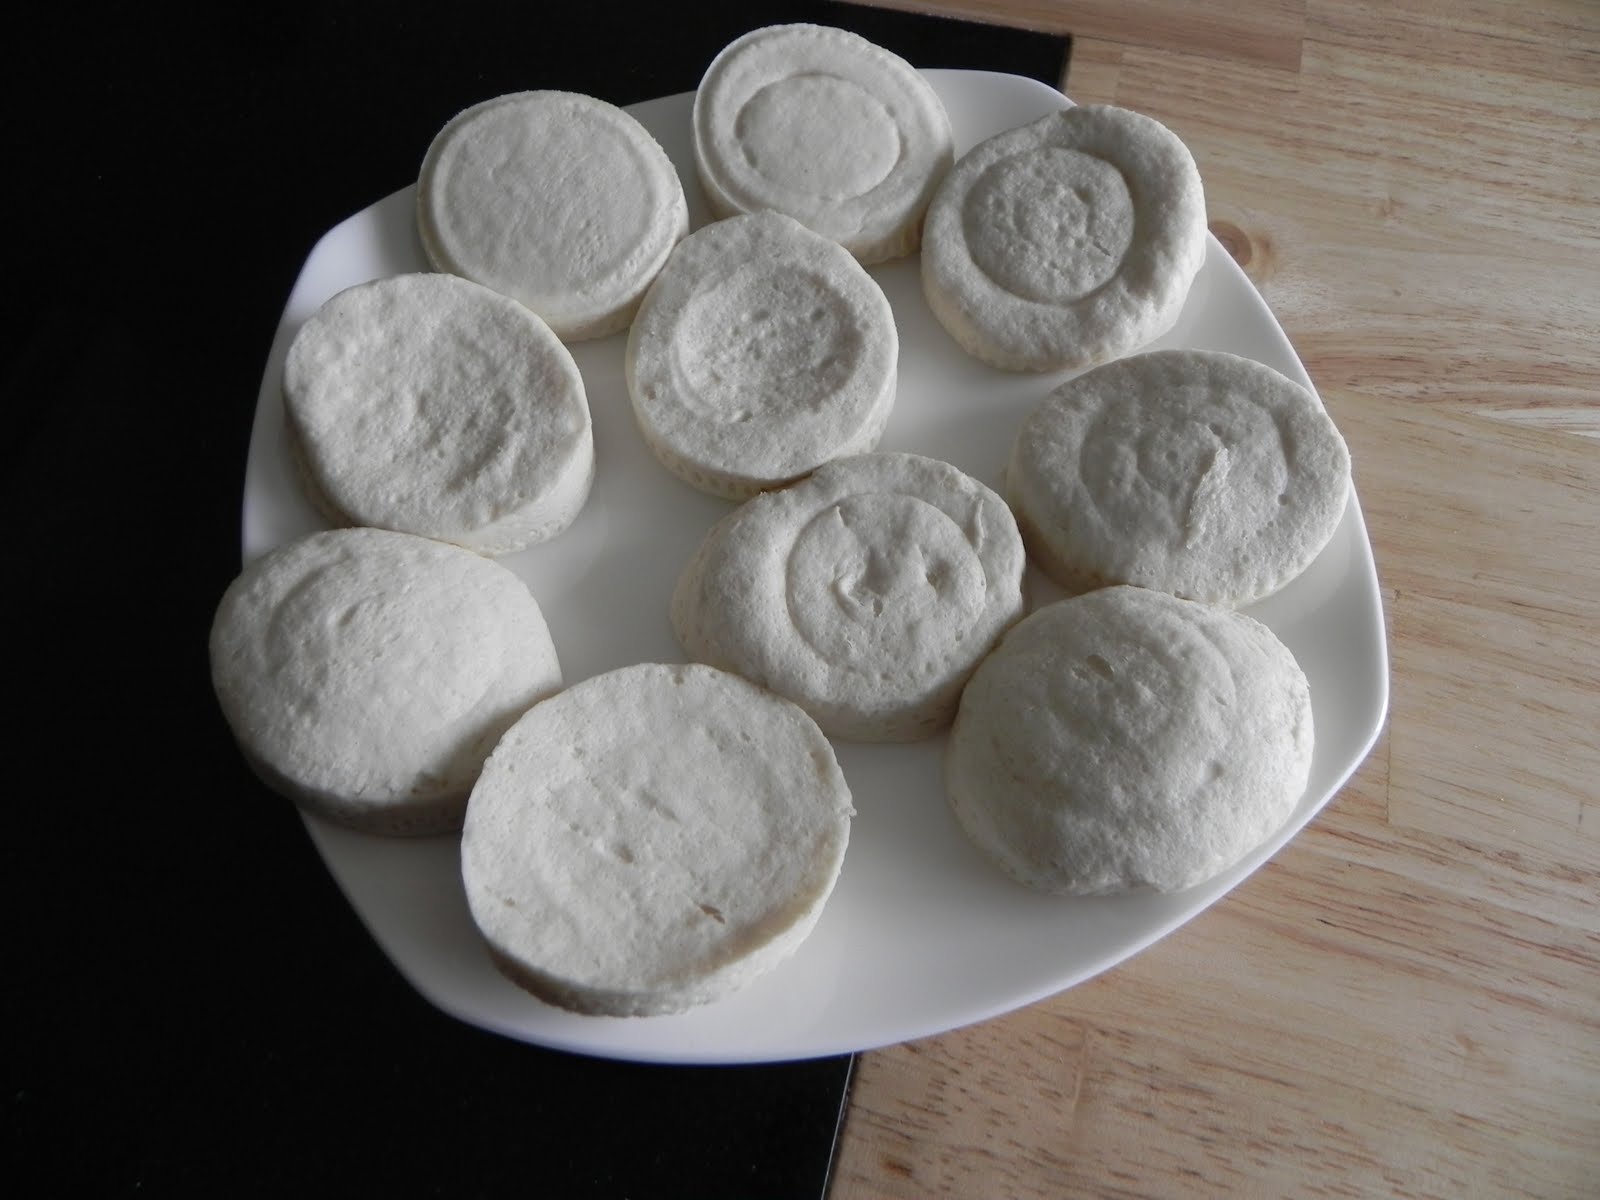
·         1 ¼ yards each of three or four coordinating flannels—These will create the chenille. Use woven fabrics that fray easily at the edges; the fraying is what creates the faux chenille look. I recommend using fabrics that are 100% cotton, linen (or linen/cotton blend), or flannel (which is typically 100% cotton). I’ve only used nursery flannel for my blankets.
·         Large amount of thread that blends well with chosen fabrics
·         180 inches of quilting binding
·         Thread that coordinates with binding (if different from that used to sew blanket)
Select coordinating fabrics, and iron them before you begin.


Stack your fabrics with the backing fabric wrong side up and the flannels on top; right sides facing up. 

It’s important to keep the fabrics together while sewing (although some shifting will happen). I use basting safety pins and move them periodically as I sew. I’ve heard that some people use spray adhesive and basting pins. If you do use spray adhesive, be sure to do so outside.

Now that your fabrics are all laid out, mark out a diagonal that divides your square in half. I use a washable fabric marker for this.

Once you’re line is drawn you’re ready to sew! You’ll sew channels, approximately ½ inch wide, parallel to the first quilting line. Try to keep your lines as straight as possible, but if they get a little squiggly, it’s ok! This part takes a while, so be prepared with some good music or a great movie.

After your channels are sewn, the cutting begins! The three layers of flannel are cut down the middle of the channel. This is how the chenille look is achieved. The first time I did this I used regular scissors, and it was painful! I definitely recommend getting some spring-handled scissors if you think you’ll make more than one of these. Be careful as you cut that you DO NOT CUT THE BACKING FABRIC!

Hang in there…we’re almost done!!
Now that your channels are cut, you need to square out the blanket and cut off the excess. Due to shifting from when you sewed, you may lose up to three inches. Don’t worry too much about that.
I use a yard stick, rotary cutter, and self-healing mat. I fold mine in quarters to see if it’s truly square.

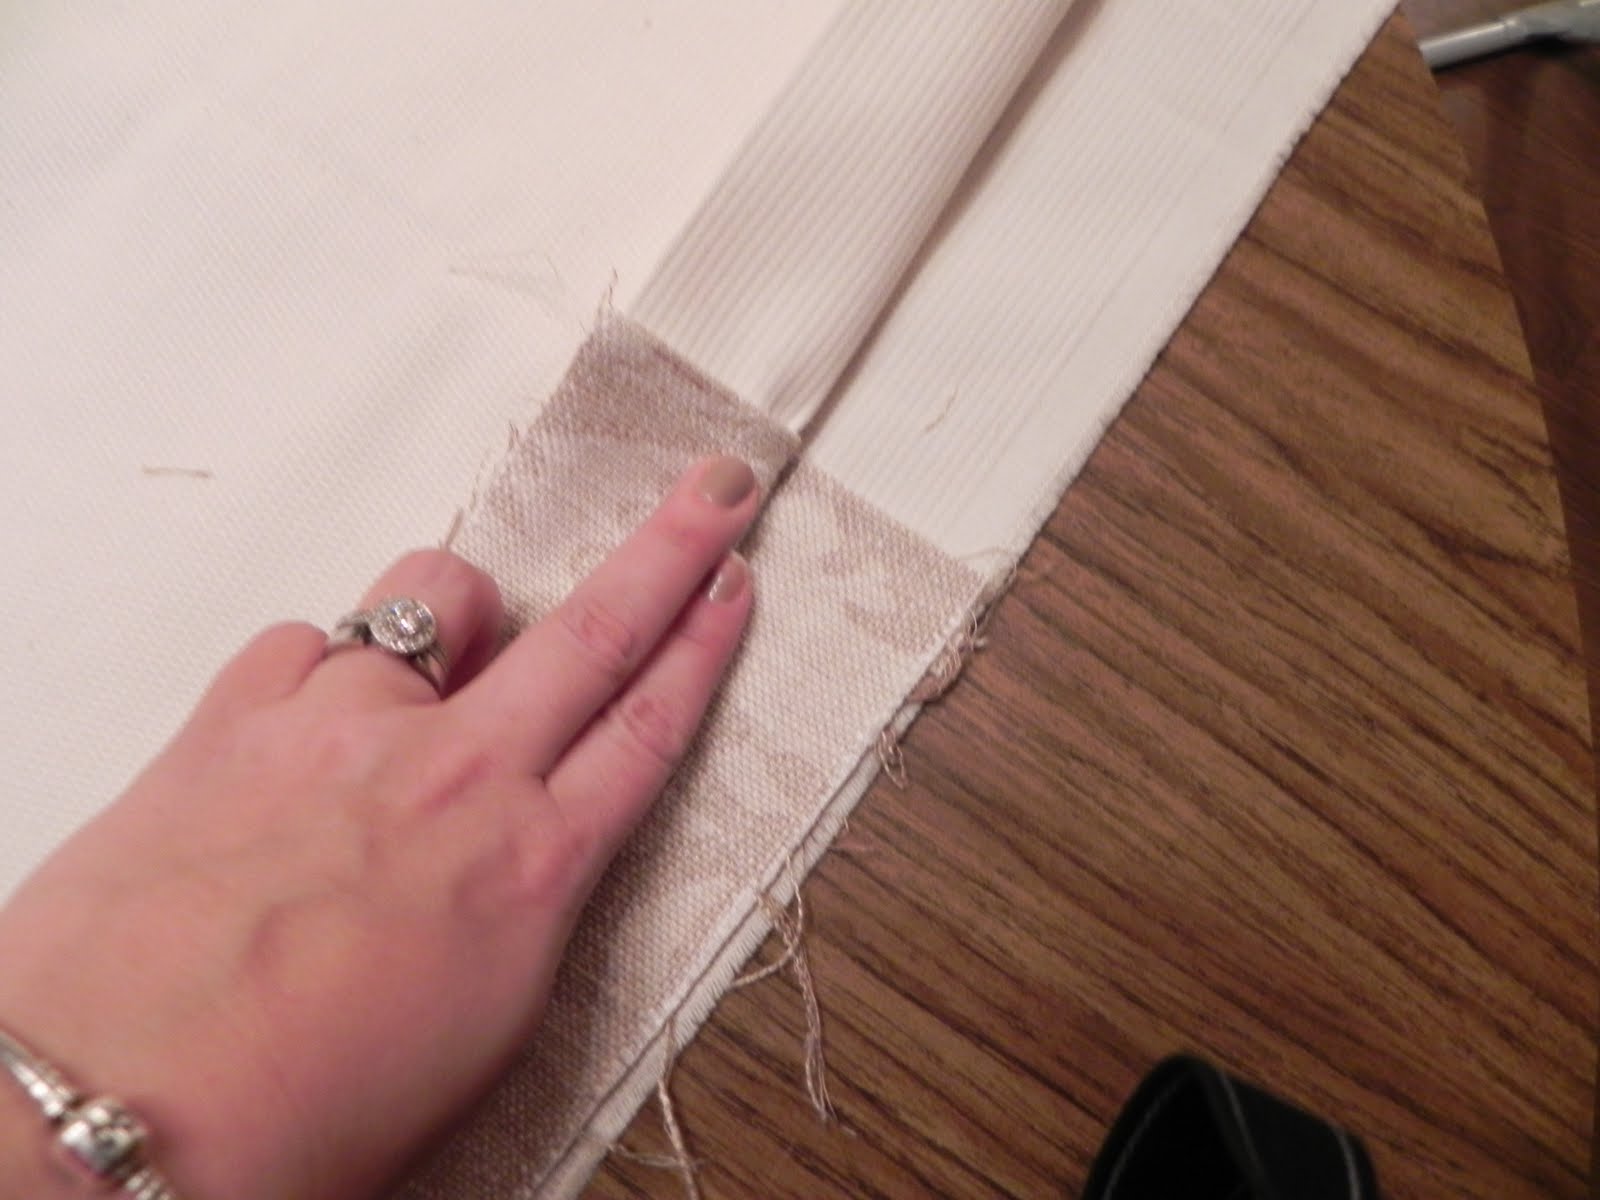
The final sewing step is to sew on the binding tape. Fortunately, sew4home.com does a phenomenal job of explaining this.

And now for my favorite part! Wash and dry your blanket! Be sure to check your lint trap often while drying; it fills up fast. The blanket will only get softer and more frayed with more washings.

Saturday, February 19, 2011

Something FREE as an apology for my absence!

Yes, it's been awhile. I'm sorry. I'm REALLY sorry! Really, I am. I've missed you. I've missed my domestic diversions. Recently my husband told me that I need to focus on one thing instead of 16. I think he's somewhat right. So, I've decided to try to have 3 posts a week to Domesitic Diversions. Maybe this summer it will be more, but for now 3 is good. I can do 3, so that's my plan.


Today, here's an attempt to redeem myself. I'm giving you a printable! :) Get excited!! 


Several months ago, I jumped on the "Keep Calm & Carry On" bandwagon. I freakin' LOVE Craftily-Ever-After and her Keep Calm prints for each month/season. I used her Christmas prints at my house this year and stole her idea to hang these three prints and switch them out as the year went on. Since Jessica's taken a reprieve from her blog recently, I thought I'd do my own versions for St. Patrick's Day (my third favorite holiday after Christmas and the 4th of July). Here's the first of the three. I hope you enjoy!


Monday, January 17, 2011

Almost-homemade Cinnamon Rolls

On our days off, I try to make Michael a special breakfast. For a man whose usual morning routine includes no food, but rather a can of Pepsi, I feel slightly better knowing that he eats something on these days. 


Cinnamon rolls are some of our favorites, but this morning I had no instant cinnamon rolls (after this recipe, I never will again) nor was I in the mood to wait for dough to rise. What I DID have was can of biscuits in the fridge and a hankering for cinnamon rolls. Enter my first original recipe on this blog--GET EXCITED!!


Almost-homemade Cinnamon Rolls
Ingredients:
1 can refrigerated biscuits
1/4 c. butter
1/2 c. sugar
1 Tbsp. cinnamon
Icing
1 c. powdered sugar
2-3 Tbsp. half and half, milk
1 tsp. vanilla


Directions:
1. Open biscuits and allow to come to room temperature--this is when they rise. If you don't have time, zap them for 15 seconds or so in the microwave.


2. Preheat the oven to 350 degrees and prepare a muffin tin with cooking spray. Set aside. 


3. Melt butter and stir in sugar and cinnamon.


4. On a non-stick surface, roll out one biscuit and spread with cinnamon-sugar mixture. Roll up and bend to fit in muffin tin (think fortune cookie-style).


5. Repeat with each remaining roll. Bake for 12-14 minutes until golden brown.


6. While rolls are baking, prepare icing.


7. Remove rolls when golden brown.


8. Drizzle with icing and serve warm.


Modifications
-If you like, you could always sprinkle orange zest on the inside of the rolls if you like. 


Tips for Next Time
-None at this time.


The Verdict
-AMAZING!! Seriously, I think these might literally be awesomeness in food form. Make them, try them, love them!

New life for a sad, old ottoman

In one of my first posts earlier this month, I told you about recovering 80s pillows for our new-t0-us couch and loveseat. When we got rid of our old furniture, we decided to keep our ottoman. the dogs love it, and it is (now) the only piece of furniture they're allowed to be on. To say that this old ottoman has seen better days is an understatement.


While I wanted our furry children to continue to have this space, I could no longer look at the ugliness. So, what's a domestic girl like myself to do? Whip up* an ottoman slip cover, of course! 


My mother-in-law cleaned out her fabric stores, and had the perfect piece to use for the bulk of the project. I started by measuring the ottoman on all sides. I still had some leftover fabric from the pillows, so I decided to add a panel for accents. 


The measurements: 
2 panels-long sides: 34"x16"
2 panels-long accent: 34"x8"
2 panels-short sides: 24"x16"
2 panels-short accent: 24"x8"
1 panel-top: 24"x34"

After cutting all the necessary pieces, I sewed the appropriate accent panel to the top of each side panel. 


The next step was sewing the side panels together. I was incredibly careful to make sure that the panels lined up correctly so there would be a straight line all around the ottoman.


After I had the panels together, I pinned the top panel to the sides. It was a NIGHTMARE. I turned that baby inside out, slipped it on the ottoman and measured for the hem. 


The final result:


While this project was ultimately successful, I'm sure I did not approach it in the best manner.  If I ever do another box shape sewing project, I will go about it differently. How, I'm not entirely sure, but I will blog about it and let you know. 


What's better is that now, I can take the slip cover off and wash it when necessary. This is a phenomenal benefit since my puppies LOVE it. Case and point.


*Let's be clear that there was very little whipping. 

Wednesday, January 12, 2011

Pretty, Prissy Scones

As you all know, my monthly dinner calendar has been slightly thrown off kilter with the death of Michael's Bushi. (Monday leftovers, Tuesday tomato soup/leftovers, Wednesday dinner with the family.) Until I get back on track, hopefully tomorrow, here's a sweet filler for you!


Back story: This past August, my dear friend Rachel was days away from marrying the love of her life, an Irish chap named James. As a bachelorette party gift, a few of us decided to continue the celebration with a spa day. After a morning filled with massages and facials at a local spa, the four of us headed to my house for a champagne brunch. In addition to mimosas and omelets, I served some scrumptious white chocolate-raspberry scones. Sadly, I did not print out that recipe. When Rachel asked me for it, I scoured the Internet for a comparable substitute. When I served mine, I used a royal icing with almond extract as a glaze. 


A short time later, here are we girls celebrating the day:


Here's the recipe:


White Chocolate Raspberry Scones

Ingredients

  • 1 3/4 C. all-purpose flour
  • 3 Tbs. sugar
  • 3/4 C. frozen unsweetened raspberries (do not thaw)
  • 2/3 C. white baking chips
  • 2 1/2 tsp. baking powder
  • 1/2 tsp. salt
  • 1/3 C. firm butter or margarine
  • 1 lg. egg, beaten
  • 1/2 tsp. almond extract
  • 1/2 C. heavy whipping cream
  • additional whipping cream
  • white course sugar crystals or granulated sugar

Directions

Heat oven to 400 degrees.

In large bowl, mix flour, 3 tablespoons sugar, the baking powder and salt. Cut in butter, using pastry blender (or pulling 2 table knives through ingredients in opposite directions), until mixture looks like fine crumbs. Stir in egg, vanilla,currants and just enough of the 4 to 6 tablespoons whipping cream so dough leaves side of bowl.

Place dough on lightly floured surface; gently roll in flour to coat. On ungreased cookie sheet, roll or pat dough into 8-inch circle. Cut into 8 wedges with sharp knife that has been dipped in flour, but do not separate wedges. Brush with additional whipping cream; sprinkle with sugar crystals.

Bake 18 to 23 minutes or until light golden brown. Immediately remove from cookie sheet; carefully separate wedges. Serve warm.

Sunday, January 9, 2011

A Month of Dinners-Day 7-Broccoli & Cheddar Soup

My husband had never been into a Panera Bread before he started dating me. I quickly remedied this oversight soon into our relationship. Ever since their introduction, he regularly craves their broccoli and cheddar soup. Thus, when I found this recipe that claimed to be the same, I had to try it! Before we get to the good stuff (modifications, tips, and verdict), here's the recipe.


Broccoli Cheese Soup
Ingredients:


Directions:
1.       Sauté onion in butter. Set aside. Chop broccoli and carrots.


2.       Cook melted butter and flour using a whisk over medium heat for 3-5 minutes. Stir constantly and add the half & half.


3.       Add the chicken stock. Simmer for 20 minutes.


4.       Add the broccoli, carrots and onions. Cook over low heat 20-25 minutes.


5.       Add salt and pepper. Can be puréed in a blender but I don't. Return to heat and add cheese. Stir in nutmeg.


Modifications
-I doubled this recipe. Before making this, I decided that even if the flavor wasn't an exact match to our favorite bakery's, it still had to be good enough to freeze and eat later.
-In order to have the consistency that I wanted, I put the broccoli and the carrots through the food processor using the shredding disk. 
-I did not include the onion in my batch. The only reason, I didn't have one.
-Instead of 4 c. half and half (OH MY!) I used 2 c. half and half and 2 c. 2% milk
-I threw in a bit of extra cheese because, well...why not?! 


Tips for next time
-One batch would have been completely sufficient. I did freeze the remainder for later use. 
-Whatever you do--be sure to include the nutmeg! I tried it before I added the nutmeg, and after I added it, it was obvious that nutmeg is the secret ingredient! 
-I will be sure to add the onion next time--just to see.


The verdict
-Pretty darn close to our favorite eatery's! This will definitely be one of my regular recipes!


A Month of Dinners-Days 4, 5, & 6

Hello to all of you who faithfully read this blog--all 7-10 of you!

Days 4, 5, & 6 are a combo post for several reasons. I'll do a bit of explanation.

Day 4-Crock Pot Chicken Dumplings: I'm not posting this recipe because it was NOT GOOD. It seemed way to simple to me (3 ingredients-really?), but I thought I'd give it a whirl. One of my resolutions for 2011 is to simplify, after all. Anyway, the dinner was edible, but not worth keeping for leftovers. I may revise this recipe and come back to it at another time. If I do, you'll read about it. :)

Day 5-Homemade Pizza: I came home from work on Friday to the news that Michael's dear grandmother, Bushi, passed away that afternoon. Between visiting the nursing home one last time and watching our niece for part of the evening, pizza was not made--by me anyway. Michael ordered Pizza Hut; I had tomato soup and a grilled cheese. Which, by the way, was A-MAZING! 

Day 6-Leftovers: Due to the craziness, we ordered Chinese food. It was okay. I think I would have liked leftovers better. 

Day 7's post will be up later tonight. I'm pretty excited about this one...I think you will be too!