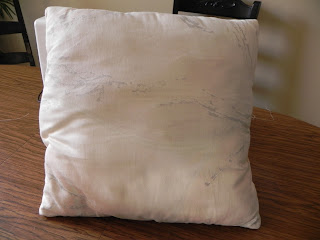
Recovering the pillows was completely necessary. I headed to Jo-Ann's to check out fabric, and quite honestly, I hit the jackpot! Certain clearance home decor fabrics were marked down to half off. Thus, I got six yards of sweet fabric for...$18! Score!
I will probably be returning to see if there's any other fabric I can't live without. In the mean time, here's how I recovered our pillows. Yes, this is an INCREDIBLY easy DIY, and yes, most of you could do this without my post, but I thought it would be a good one to start off this blog.
Super Easy Steps to Recover Pillows
1. Find some awesome fabric that will complement whatever fabric your pillows will sit on. I chose this:
2.Measure the pillow you want to cover. Be sure to get measurements for the length of all four sides. (Some pillows seem square but are actually rectangular.) Add 1/4-1/2 inch to your measurement for your seam. In my opinion, the better seamstress you are the less material you need. I'm still working on honing my sewing abilities, so I added 1/2 inch--1 inch total.
3. Mark your material and cut. Be sure to measure twice!
4. Pin three sides of your cut fabric with the right sides facing each other.
5. Sew the three pinned sides; cut off extra material--be sure you DON'T cut the seam!
6. Invert the cover--remember to push the corners out--and cover the pillow.
7. After the pillow is placed in the cover, fold in the fabric on the open side and pin.
8. Sew the last side shut. This step can be difficult depending on the side of the pillow. Go slowly and be careful to keep your fingers out of the way of the needle.
And now, for our final product...before and after.
The pillows find their home on the "new" love seat and sofa!
I also did these for our other room. They're more bohemian that I usually chose, but I think my tastes might be evolving.


Good Job Betty!
ReplyDelete