Monday, January 17, 2011

Almost-homemade Cinnamon Rolls

On our days off, I try to make Michael a special breakfast. For a man whose usual morning routine includes no food, but rather a can of Pepsi, I feel slightly better knowing that he eats something on these days. 


Cinnamon rolls are some of our favorites, but this morning I had no instant cinnamon rolls (after this recipe, I never will again) nor was I in the mood to wait for dough to rise. What I DID have was can of biscuits in the fridge and a hankering for cinnamon rolls. Enter my first original recipe on this blog--GET EXCITED!!


Almost-homemade Cinnamon Rolls
Ingredients:
1 can refrigerated biscuits
1/4 c. butter
1/2 c. sugar
1 Tbsp. cinnamon
Icing
1 c. powdered sugar
2-3 Tbsp. half and half, milk
1 tsp. vanilla


Directions:
1. Open biscuits and allow to come to room temperature--this is when they rise. If you don't have time, zap them for 15 seconds or so in the microwave.


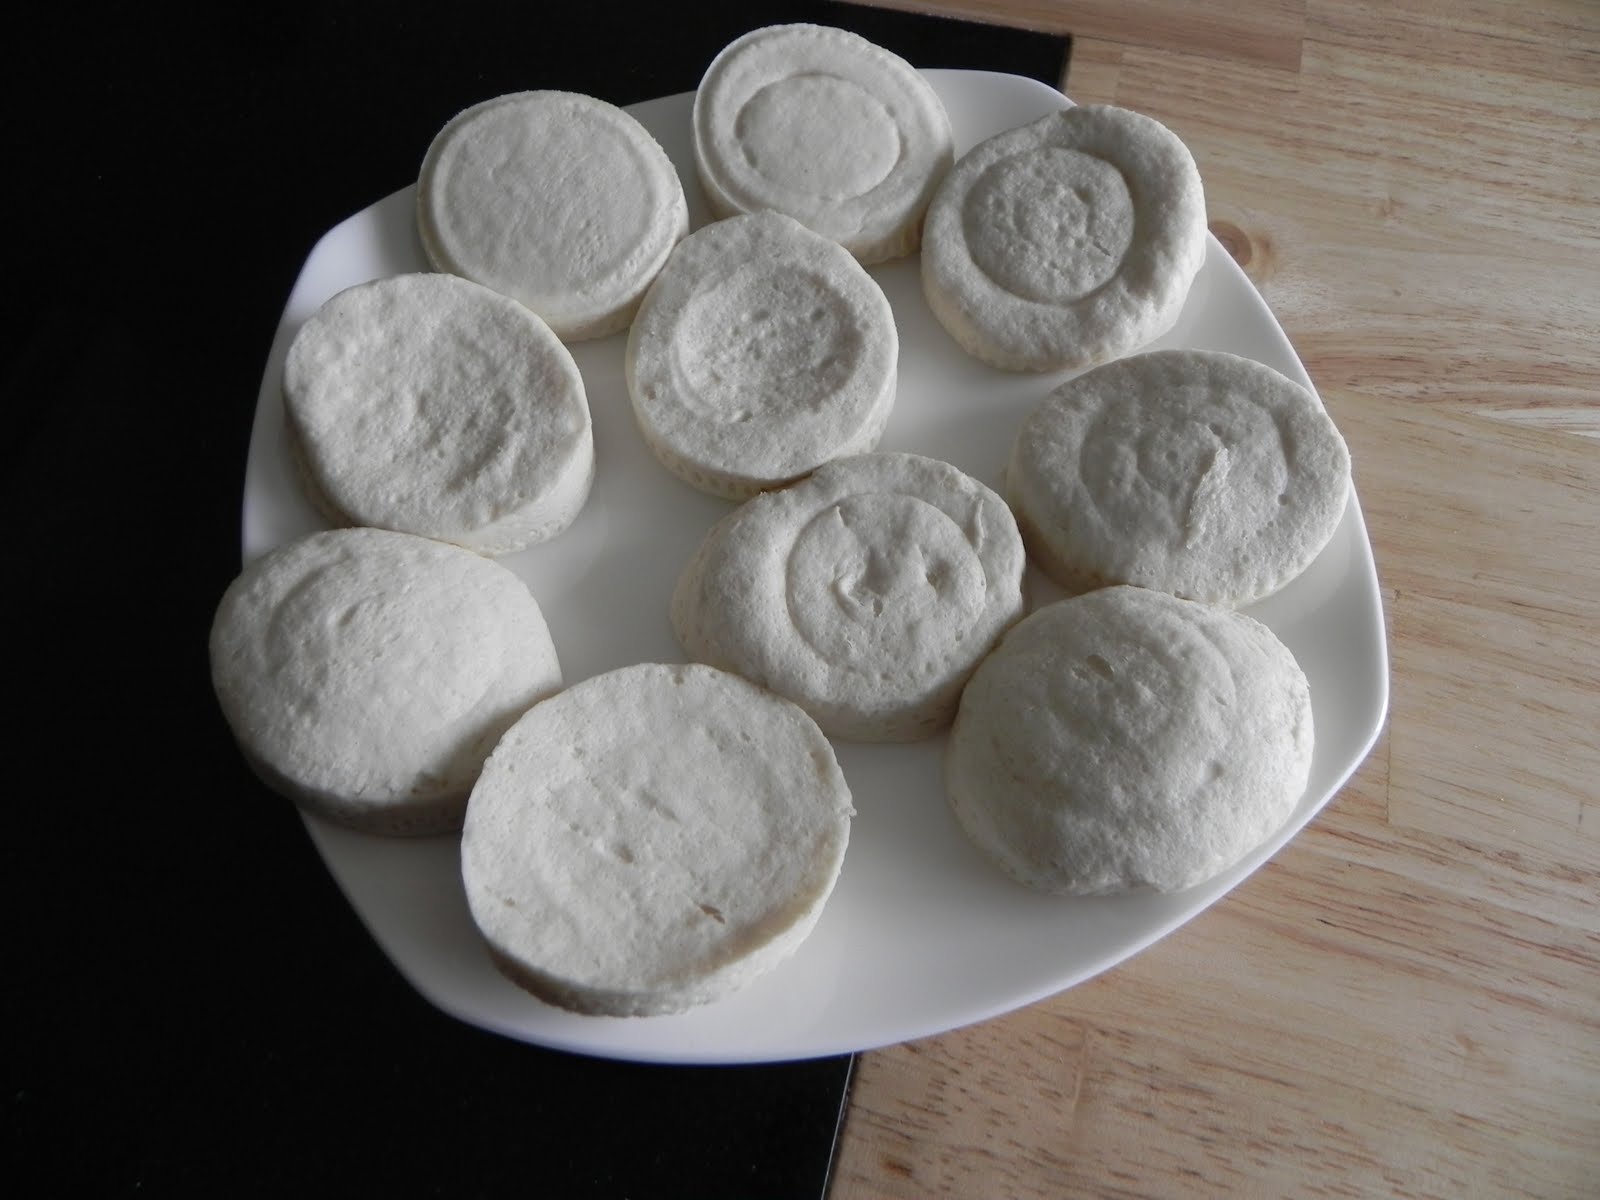
2. Preheat the oven to 350 degrees and prepare a muffin tin with cooking spray. Set aside. 


3. Melt butter and stir in sugar and cinnamon.


4. On a non-stick surface, roll out one biscuit and spread with cinnamon-sugar mixture. Roll up and bend to fit in muffin tin (think fortune cookie-style).


5. Repeat with each remaining roll. Bake for 12-14 minutes until golden brown.


6. While rolls are baking, prepare icing.


7. Remove rolls when golden brown.


8. Drizzle with icing and serve warm.


Modifications
-If you like, you could always sprinkle orange zest on the inside of the rolls if you like. 


Tips for Next Time
-None at this time.


The Verdict
-AMAZING!! Seriously, I think these might literally be awesomeness in food form. Make them, try them, love them!

New life for a sad, old ottoman

In one of my first posts earlier this month, I told you about recovering 80s pillows for our new-t0-us couch and loveseat. When we got rid of our old furniture, we decided to keep our ottoman. the dogs love it, and it is (now) the only piece of furniture they're allowed to be on. To say that this old ottoman has seen better days is an understatement.


While I wanted our furry children to continue to have this space, I could no longer look at the ugliness. So, what's a domestic girl like myself to do? Whip up* an ottoman slip cover, of course! 


My mother-in-law cleaned out her fabric stores, and had the perfect piece to use for the bulk of the project. I started by measuring the ottoman on all sides. I still had some leftover fabric from the pillows, so I decided to add a panel for accents. 


The measurements: 
2 panels-long sides: 34"x16"
2 panels-long accent: 34"x8"
2 panels-short sides: 24"x16"
2 panels-short accent: 24"x8"
1 panel-top: 24"x34"

After cutting all the necessary pieces, I sewed the appropriate accent panel to the top of each side panel. 


The next step was sewing the side panels together. I was incredibly careful to make sure that the panels lined up correctly so there would be a straight line all around the ottoman.


After I had the panels together, I pinned the top panel to the sides. It was a NIGHTMARE. I turned that baby inside out, slipped it on the ottoman and measured for the hem. 


The final result:


While this project was ultimately successful, I'm sure I did not approach it in the best manner.  If I ever do another box shape sewing project, I will go about it differently. How, I'm not entirely sure, but I will blog about it and let you know. 


What's better is that now, I can take the slip cover off and wash it when necessary. This is a phenomenal benefit since my puppies LOVE it. Case and point.


*Let's be clear that there was very little whipping. 

Wednesday, January 12, 2011

Pretty, Prissy Scones

As you all know, my monthly dinner calendar has been slightly thrown off kilter with the death of Michael's Bushi. (Monday leftovers, Tuesday tomato soup/leftovers, Wednesday dinner with the family.) Until I get back on track, hopefully tomorrow, here's a sweet filler for you!


Back story: This past August, my dear friend Rachel was days away from marrying the love of her life, an Irish chap named James. As a bachelorette party gift, a few of us decided to continue the celebration with a spa day. After a morning filled with massages and facials at a local spa, the four of us headed to my house for a champagne brunch. In addition to mimosas and omelets, I served some scrumptious white chocolate-raspberry scones. Sadly, I did not print out that recipe. When Rachel asked me for it, I scoured the Internet for a comparable substitute. When I served mine, I used a royal icing with almond extract as a glaze. 


A short time later, here are we girls celebrating the day:


Here's the recipe:


White Chocolate Raspberry Scones

Ingredients

  • 1 3/4 C. all-purpose flour
  • 3 Tbs. sugar
  • 3/4 C. frozen unsweetened raspberries (do not thaw)
  • 2/3 C. white baking chips
  • 2 1/2 tsp. baking powder
  • 1/2 tsp. salt
  • 1/3 C. firm butter or margarine
  • 1 lg. egg, beaten
  • 1/2 tsp. almond extract
  • 1/2 C. heavy whipping cream
  • additional whipping cream
  • white course sugar crystals or granulated sugar

Directions

Heat oven to 400 degrees.

In large bowl, mix flour, 3 tablespoons sugar, the baking powder and salt. Cut in butter, using pastry blender (or pulling 2 table knives through ingredients in opposite directions), until mixture looks like fine crumbs. Stir in egg, vanilla,currants and just enough of the 4 to 6 tablespoons whipping cream so dough leaves side of bowl.

Place dough on lightly floured surface; gently roll in flour to coat. On ungreased cookie sheet, roll or pat dough into 8-inch circle. Cut into 8 wedges with sharp knife that has been dipped in flour, but do not separate wedges. Brush with additional whipping cream; sprinkle with sugar crystals.

Bake 18 to 23 minutes or until light golden brown. Immediately remove from cookie sheet; carefully separate wedges. Serve warm.

Sunday, January 9, 2011

A Month of Dinners-Day 7-Broccoli & Cheddar Soup

My husband had never been into a Panera Bread before he started dating me. I quickly remedied this oversight soon into our relationship. Ever since their introduction, he regularly craves their broccoli and cheddar soup. Thus, when I found this recipe that claimed to be the same, I had to try it! Before we get to the good stuff (modifications, tips, and verdict), here's the recipe.


Broccoli Cheese Soup
Ingredients:


Directions:
1.       Sauté onion in butter. Set aside. Chop broccoli and carrots.


2.       Cook melted butter and flour using a whisk over medium heat for 3-5 minutes. Stir constantly and add the half & half.


3.       Add the chicken stock. Simmer for 20 minutes.


4.       Add the broccoli, carrots and onions. Cook over low heat 20-25 minutes.


5.       Add salt and pepper. Can be puréed in a blender but I don't. Return to heat and add cheese. Stir in nutmeg.


Modifications
-I doubled this recipe. Before making this, I decided that even if the flavor wasn't an exact match to our favorite bakery's, it still had to be good enough to freeze and eat later.
-In order to have the consistency that I wanted, I put the broccoli and the carrots through the food processor using the shredding disk. 
-I did not include the onion in my batch. The only reason, I didn't have one.
-Instead of 4 c. half and half (OH MY!) I used 2 c. half and half and 2 c. 2% milk
-I threw in a bit of extra cheese because, well...why not?! 


Tips for next time
-One batch would have been completely sufficient. I did freeze the remainder for later use. 
-Whatever you do--be sure to include the nutmeg! I tried it before I added the nutmeg, and after I added it, it was obvious that nutmeg is the secret ingredient! 
-I will be sure to add the onion next time--just to see.


The verdict
-Pretty darn close to our favorite eatery's! This will definitely be one of my regular recipes!


A Month of Dinners-Days 4, 5, & 6

Hello to all of you who faithfully read this blog--all 7-10 of you!

Days 4, 5, & 6 are a combo post for several reasons. I'll do a bit of explanation.

Day 4-Crock Pot Chicken Dumplings: I'm not posting this recipe because it was NOT GOOD. It seemed way to simple to me (3 ingredients-really?), but I thought I'd give it a whirl. One of my resolutions for 2011 is to simplify, after all. Anyway, the dinner was edible, but not worth keeping for leftovers. I may revise this recipe and come back to it at another time. If I do, you'll read about it. :)

Day 5-Homemade Pizza: I came home from work on Friday to the news that Michael's dear grandmother, Bushi, passed away that afternoon. Between visiting the nursing home one last time and watching our niece for part of the evening, pizza was not made--by me anyway. Michael ordered Pizza Hut; I had tomato soup and a grilled cheese. Which, by the way, was A-MAZING! 

Day 6-Leftovers: Due to the craziness, we ordered Chinese food. It was okay. I think I would have liked leftovers better. 

Day 7's post will be up later tonight. I'm pretty excited about this one...I think you will be too!

Wednesday, January 5, 2011

A Month of Dinners-Day 3-Breaded Pork Chops

When I was assembling our menu for the month, I almost didn't put this recipe on the schedule. I've always been hesitant about pork. You see, my mom never really made pork when we were kids, and the first time I remember trying pork roast it was SUPER dry. 

Nothing against "the other white meat," but it is intimidating. That's right. My name is Betty, and I'm intimidated by pork. 

Facing my fear, I put pork chops on the menu, and not only that, but I scheduled it for the first week. Here's the recipe and pictures. As always, the modifications, tips for next time, and the verdict are at the end. :)


Breaded Pork Chops
Ingredients
  • 4 boneless pork loin chops, 3/4-inch thick
  •  2 tablespoons all-purpose flour
  • 1/2 teaspoon salt
  • 1/2 teaspoon paprika
  • 1/8 teaspoon pepper
  • 1 egg, slightly beaten
  • 1 teaspoon Worcestershire sauce
  • 1/2 cup dry bread crumbs
  • 1 tablespoon vegetable oil


Directions
In small bowl, combine flour, salt, paprika and pepper. In another small bowl, combine egg and Worcestershire sauce. 


Coat chops with seasoned flour

Dip in egg mixture

Coat with breadcrumbs

In large skillet, heat oil over medium-high heat. Brown chops on one side until golden brown (about 4 minutes); turn and continue cooking for another 4 minutes. Serve hot.


Not only were these pork chops served hot, they were also served with mashed red potatoes (courtesy of Ore Ida Steam n' Mash--after all, I'm still a working girl!) and green beans.
Modifications
-I realized AFTER I started making dinner that I was out of paprika, so I used a tad of pork rub instead.
-You really ONLY need 2 Tbsp. of flour for this recipe and probably only 1/4-1/3 c. of bread crumbs. I was surprised at how little it took to coat all four of the chops!
-I don't even buy vegetable oil. I only use olive oil in cooking and canola when baking.

Changes for next time
-Use paprkia
-Don't keep the pan on high. I would definitely get the oil hot, but I would use medium-low heat instead of medium-high. One side of this batch of chops got a tad too crispy for my liking.
-I didn't use a non-stick/dark pan. I don't know how/if this would change cook time.

The verdict
-Betty-1 Pork-0--I rocked this recipe. It was quick, easy, and the PERFECT meal for two! 
-Michael said, "I give this a 99! I'd be a 100 if I had gravy!"

--I'm not a gravy lover. If anyone has a good recipe for gravy, let me know! 

To INFINITY and beyond--a scarf even YOU can make!

Recently, I've been eyeing infinity scarfs. They're popping up all over the place, and they appear to be the perfect accessory!

While I am a fan of the scarf, I am NOT a fan of the price tag. Most of these scarves start at $20 and I've even seen price tags up to $60!!!

THIS crafty girl was not about to pay $20+ for a loop of fabric, thus I ransacked my closet and came across three possible candidates to transform into my coveted scarf!

I began with the grey shirt on the far left. While I wanted to have crazy confidence in my mad sewing skills, I was hesitant, and quite honestly, liked this fabric the least out of my three options.

 After that project went well, I made a second scarf using the middle sweater. The tutorial pictures are from the second project.

In order to get as much useable material, I cut the sleeves off the shirt and then cut down all of the remaining seams, so I ended up with four pieces.

After I had the largest pieces of material possible, I had to determine the width of my scarf. To do this, I folded the body section in half. (I knew the sleeves would be larger than that width, so this was a safe size.)

My width ended up being 8 1/4 in. I cut the material to get as many strips of fabric as possible. I ended up with 7 pieces: 2 from the sleeves, 2 from the front body, and 3 from the back body (since this sweater was a V-neck, I cut the back into three pieces-two sides and a top-instead of two).

Now it was time to determine the order for the pieces. Since I'm CRAZY about patterns and I wanted the longest pieces on the end and the shortest in the middle, I pieced the fabric together in the following way:

Begin sewing pieces together starting in the middle.

Sew all pieces together, so you are left with a crazy long strip of fabric. Finishing the edges can be done one of two ways. The option you choose will be dependent of the fabric you are using.

For the first scarf I made, I did a quick seam down both sides. I wasn't sure how the fabric would fray, and I felt that the t-shirt like material needed to look "finished".

The scarf made out of the sweater (shown in tutorial pictures) was a bit different. I knew the fabric might fray a bit, but mostly it would curl in if left without a seam. Thus, for this scarf, I merely ran a zig-zag stich down each side. When that was finished I trimmed off the excess to make the entire scarf an even width.

Finally, it was time to sew the ends of the strip together. The result? A super cute scarf that was upcycled from a sweater (modeled by my sweet sister, Courtney--in return for keeping said scarf)!
Here's a shot of the first scarf too!


Tuesday, January 4, 2011

A Month of Dinners-Day 2-Spaghetti

Hi all! I'm jumping online for a quick post about dinner tonight. According to my menu, we were to have pork chops, however, when we invited my sister and her boyfriend over for dinner, I decided it would probably not be the best time to cook pork chops for the first time...ever. 


Instead, I switched Tuesday and Wednesday and made it spaghetti night. I'd like to say I made everything from scratch, and one day, gosh darn it, I will, but I did doctor my sauce so I'm blogging about that.


I started with sauce from a jar (I'm a big fan of Newman's Own products. In addition to being high quality, I love that the proceeds go to charity!) and added some fresh, chopped ingredients. This is one of the ways I sneak vegetables into my husband's diet. He would NEVER eat a pepper raw (or even cooked for that matter--when I make stuffed peppers, he eats the "stuffing" and leaves the pepper) or mushrooms, and he usually hates tomatoes. When they're hidden in his dinner though, he loves it! (Is this what being a mom is going to be like? I wonder...)
I also added some lean ground turkey that was cooked with Italian seasoning. The end result...a thick, meaty sauce that was perfect served over whole wheat pasta (another healthy substitute I make without the hubs noticing!).


In addition to spaghetti, I served a fresh garden salad and our favorite bread with garlic and herb dipping oils, seasoning and Parmesan cheese.


Overall, it was an easy evening, but a definite success. The food was great, but the company was even better! 

Are there any "almost homemade" meals you love to make?