While I am a fan of the scarf, I am NOT a fan of the price tag. Most of these scarves start at $20 and I've even seen price tags up to $60!!!
THIS crafty girl was not about to pay $20+ for a loop of fabric, thus I ransacked my closet and came across three possible candidates to transform into my coveted scarf!
I began with the grey shirt on the far left. While I wanted to have crazy confidence in my mad sewing skills, I was hesitant, and quite honestly, liked this fabric the least out of my three options.
After that project went well, I made a second scarf using the middle sweater. The tutorial pictures are from the second project.
In order to get as much useable material, I cut the sleeves off the shirt and then cut down all of the remaining seams, so I ended up with four pieces.
After I had the largest pieces of material possible, I had to determine the width of my scarf. To do this, I folded the body section in half. (I knew the sleeves would be larger than that width, so this was a safe size.)
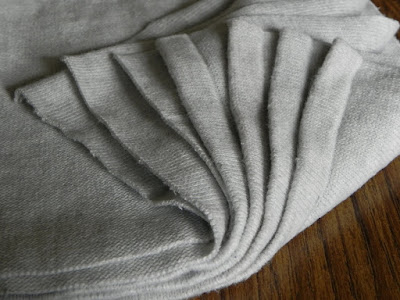
My width ended up being 8 1/4 in. I cut the material to get as many strips of fabric as possible. I ended up with 7 pieces: 2 from the sleeves, 2 from the front body, and 3 from the back body (since this sweater was a V-neck, I cut the back into three pieces-two sides and a top-instead of two).
My width ended up being 8 1/4 in. I cut the material to get as many strips of fabric as possible. I ended up with 7 pieces: 2 from the sleeves, 2 from the front body, and 3 from the back body (since this sweater was a V-neck, I cut the back into three pieces-two sides and a top-instead of two).
Now it was time to determine the order for the pieces. Since I'm CRAZY about patterns and I wanted the longest pieces on the end and the shortest in the middle, I pieced the fabric together in the following way:
Begin sewing pieces together starting in the middle.
Sew all pieces together, so you are left with a crazy long strip of fabric. Finishing the edges can be done one of two ways. The option you choose will be dependent of the fabric you are using.
For the first scarf I made, I did a quick seam down both sides. I wasn't sure how the fabric would fray, and I felt that the t-shirt like material needed to look "finished".
The scarf made out of the sweater (shown in tutorial pictures) was a bit different. I knew the fabric might fray a bit, but mostly it would curl in if left without a seam. Thus, for this scarf, I merely ran a zig-zag stich down each side. When that was finished I trimmed off the excess to make the entire scarf an even width.
Finally, it was time to sew the ends of the strip together. The result? A super cute scarf that was upcycled from a sweater (modeled by my sweet sister, Courtney--in return for keeping said scarf)!
Here's a shot of the first scarf too!


No comments:
Post a Comment